Which brings me to using my Makerbot Thing-O-Matic for interior decoration.
I've lived in rented houses for years, and I like to have art on my walls, so I've become good friends with 3M's Command range of reusable hooks and adhesives (no, they're not paying me to say this). They do have a good range of products, but what happens when you get something a bit more unusual, something that needs a customised wall mount? Something like this fabulously nerdy foam Minecraft pickaxe... The answer is to design your own, of course! And I've found through experience that the Command adhesive strips work really well with ABS plastic, so even those of us who can't nail stuff into our walls can create custom hooks and wall mounting systems.
So the first step to create your own custom wall mount is to measure up your item. It's important to get your measurements accurate to the millimetre, so you'll need a good pair of digital callipers. Get to know them well, because they'll become one of your most useful tools for 3D designs that interact with other objects:
When you have the measurements you need, you can start modelling. For the pickaxe, I decided to make a mount with a square ledge on the end that would cup the "pixelated" edges of the handle:
When modelling for this I made the square sections a couple of millimetres larger than the actual edges of the pick, so the pick would comfortably nestle into the mounts without being squeezed in, which might damage the foam. Here's what the final model looked like in SketchUp:
You might notice all the guide lines around the models. These are created using the tape measure tool in SketchUp and are essential for creating millimetre accurate models.
No matter how carefully you take your measurements, be prepared for a bit of trial and error when printing precise models like this. You may find you have to tweak the model a few times before it prints out to exactly the correct dimensions. I've had this experience a bunch of times, especially when making accessories for my OrdBot 3D printer. In the case of these wall mounts though, they miraculously worked first time. Victory is sweet! Here's the finished product on my lounge room wall:
If you look closely, you can just see the Command adhesive strips peeking out from below the mounts. I had to trim them down a bit to make them fit.
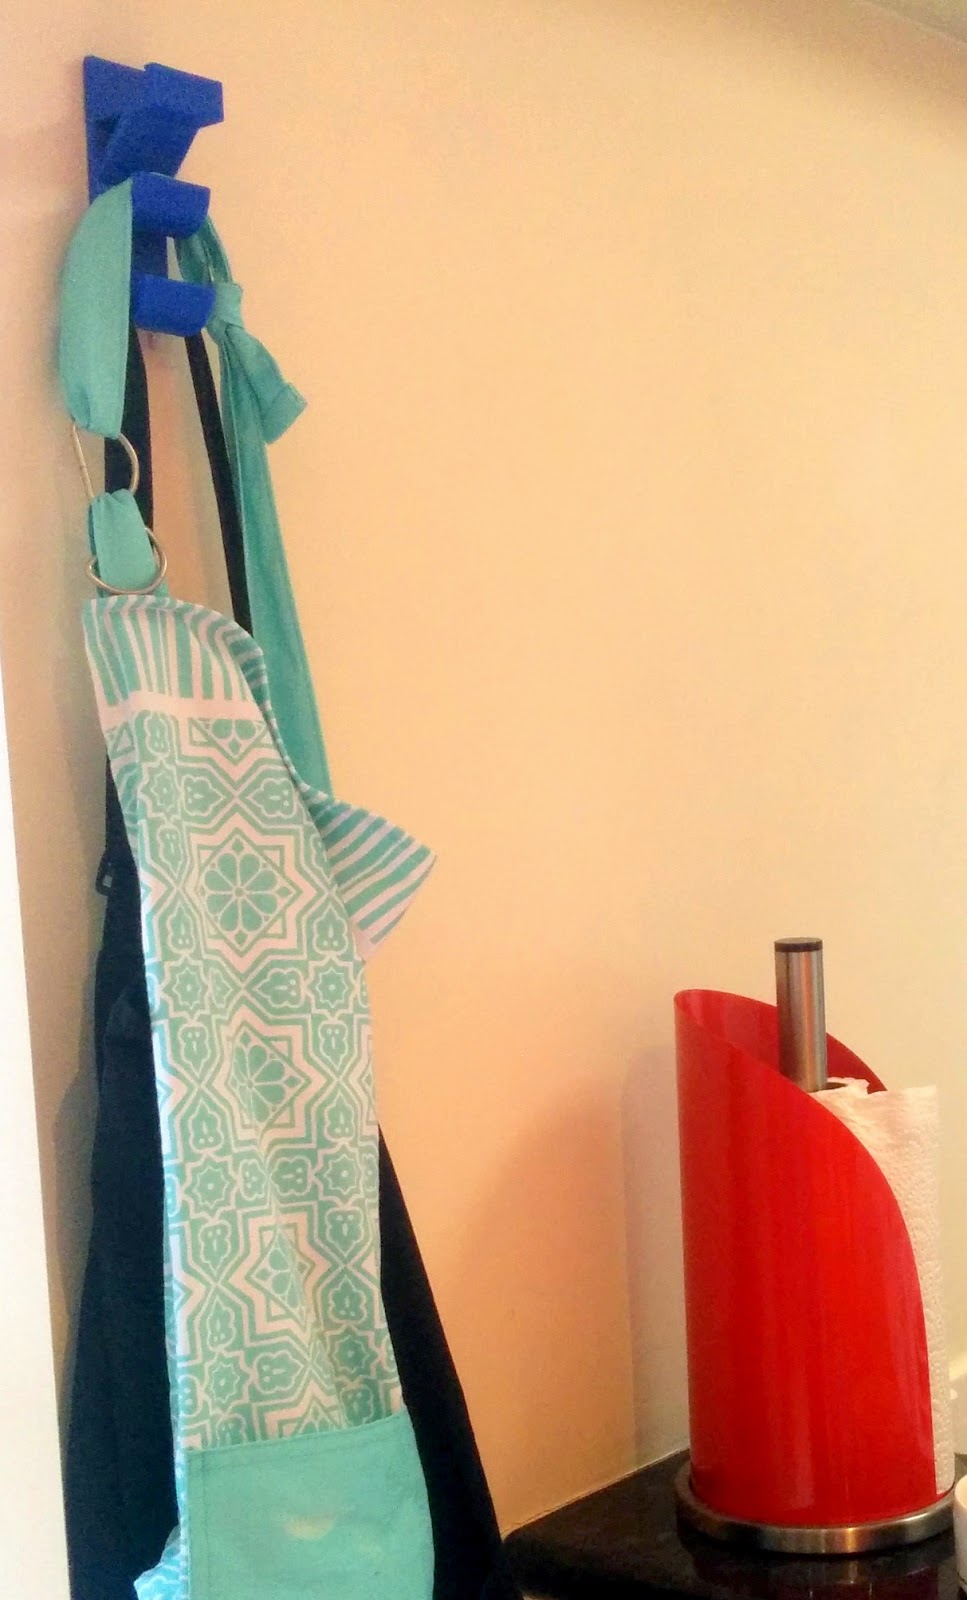
I've also printed a multi-pronged hook to hang aprons in my kitchen, though I didn't model it myself. It's from this Thingiverse model.
I've never used 3D printed mounts or hooks to hang anything heavy, but given that ABS plastic is used in car bumper bars, it's extremely robust and I'd be interested to see how much weight it can bear. I just might not do that testing in my rented home... Because ABS is so hard and robust, it can also withstand having holes drilled through the plastic and being nailed to a wall, without the plastic warping or shattering.
If you have a Minecraft pick of your own and would like to display it in all its glory, my model is available on Thingiverse.


