Monday, 30 November 2015

I Can Haz Surveillance?

I've been wanting to experiment with gathering GPS data for a while, and last week I got myself a wearable GPS Module made by Adafruit:


It's not the cheapest option (once you get it to Australia, anyway), but I'm very familiar with the Flora platform by now, and this is a very self-contained solution. It's got built-in data logging capabilities, so basically you wire it to the microcontroller, load the logging program, and away you go. It's also got an internal antenna. To get a location fix, the antenna needs to have direct line-of-sight to the sky, which brings with it the unique and pleasant opportunity to do electronics work outside:


I found the online instructions quite easy to follow. There's a ready-made software library which includes programs for capturing and downloading GPS data from this module. Here it is in the Arduino IDE:


  1. Load leo_locus_status to the microcontroller to begin logging data.
  2. Once you've gone outside and logged some data, load leo_locus_dumpbasic to download the coordinates. More on what to do with this below.
  3. To erase the existing data on the GPS module, load leo_locus_erase.
    It doesn't mention this in the Adafruit instructions, but if you forget to erase your last dataset before creating a new one, the next set of coordinates you download will also include your last trip.
The raw data looks pretty daunting, but with a few simple steps you can plug it into Google Maps, getting a user-friendly visualisation of your journey:
  1. Parse the data - Adafruit provides a simple online tool for this.
  2. Copy the data marked "KML Output," paste it into a text file and save it.
  3. Go to My Maps - a functionality of Google Maps - which gives you an option to import the KML file. Contrary to Adafruit's instructions, I found I had to re-save your text file with the .kml extension before you can import it.
Another really useful tool I found was this GPS coordinate converter. Coordinates can be formatted in several different ways, and if you directly paste a set of coordinates from you dataset into Google Maps, it won't recognise it. It also helps to jump onto Wikipedia and get a rundown of how coordinates are expressed and what they mean.

Back on the hardware side, this is my completed GPS logging set-up. The black battery pack fits inside this little pocket, and holds 3 AAA batteries, which can power the Flora microcontroller for hours at a time. The coin cell battery is to give the GPS module a boost as it powers up and gets a fix.


There's a brooch pin on the back, which I used to fasten this to the outside of my handbag as I took a train journey from West Footscray to Mount Waverley. Not suss at all...

Click here to see my path. Once I zoomed in on the route, I was impressed with the amount of detail that came out. This is me arriving at Flinders Street Station, walking around on the platform, getting food on the concourse and walking down to another platform to catch the connecting train:


Pretty awesome, in my opinion. On the other hand, I clearly did not fly over from Flinders Street and land on one of the platforms, as the path indicates. Still, I'm very happy with the story this visualisation tells.

But you're probably wondering, WHY? Well, there's not always a "why" to a maker project, but in this case there is, and it's this gorgeous creature:


Meet Georgie, my sister's cat (or as I prefer to call her, my fur-niece). She's mostly an outdoor cat, leaving the house when the humans get up, and returning whenever she damn well feels like it - sometimes quite late at night. I stayed with her and her humans for a while earlier this year, and couldn't help but wonder where she went while she was out. A couple of months later I watched the Cats Uncovered documentary on SBS, in which three groups of cats (city dwellers, village cats and farm cats) had GPS trackers and cameras attached to them, so that researchers could collect data on their movements and interactions. At that point, I knew I'd have to impose on Georgie at some point.

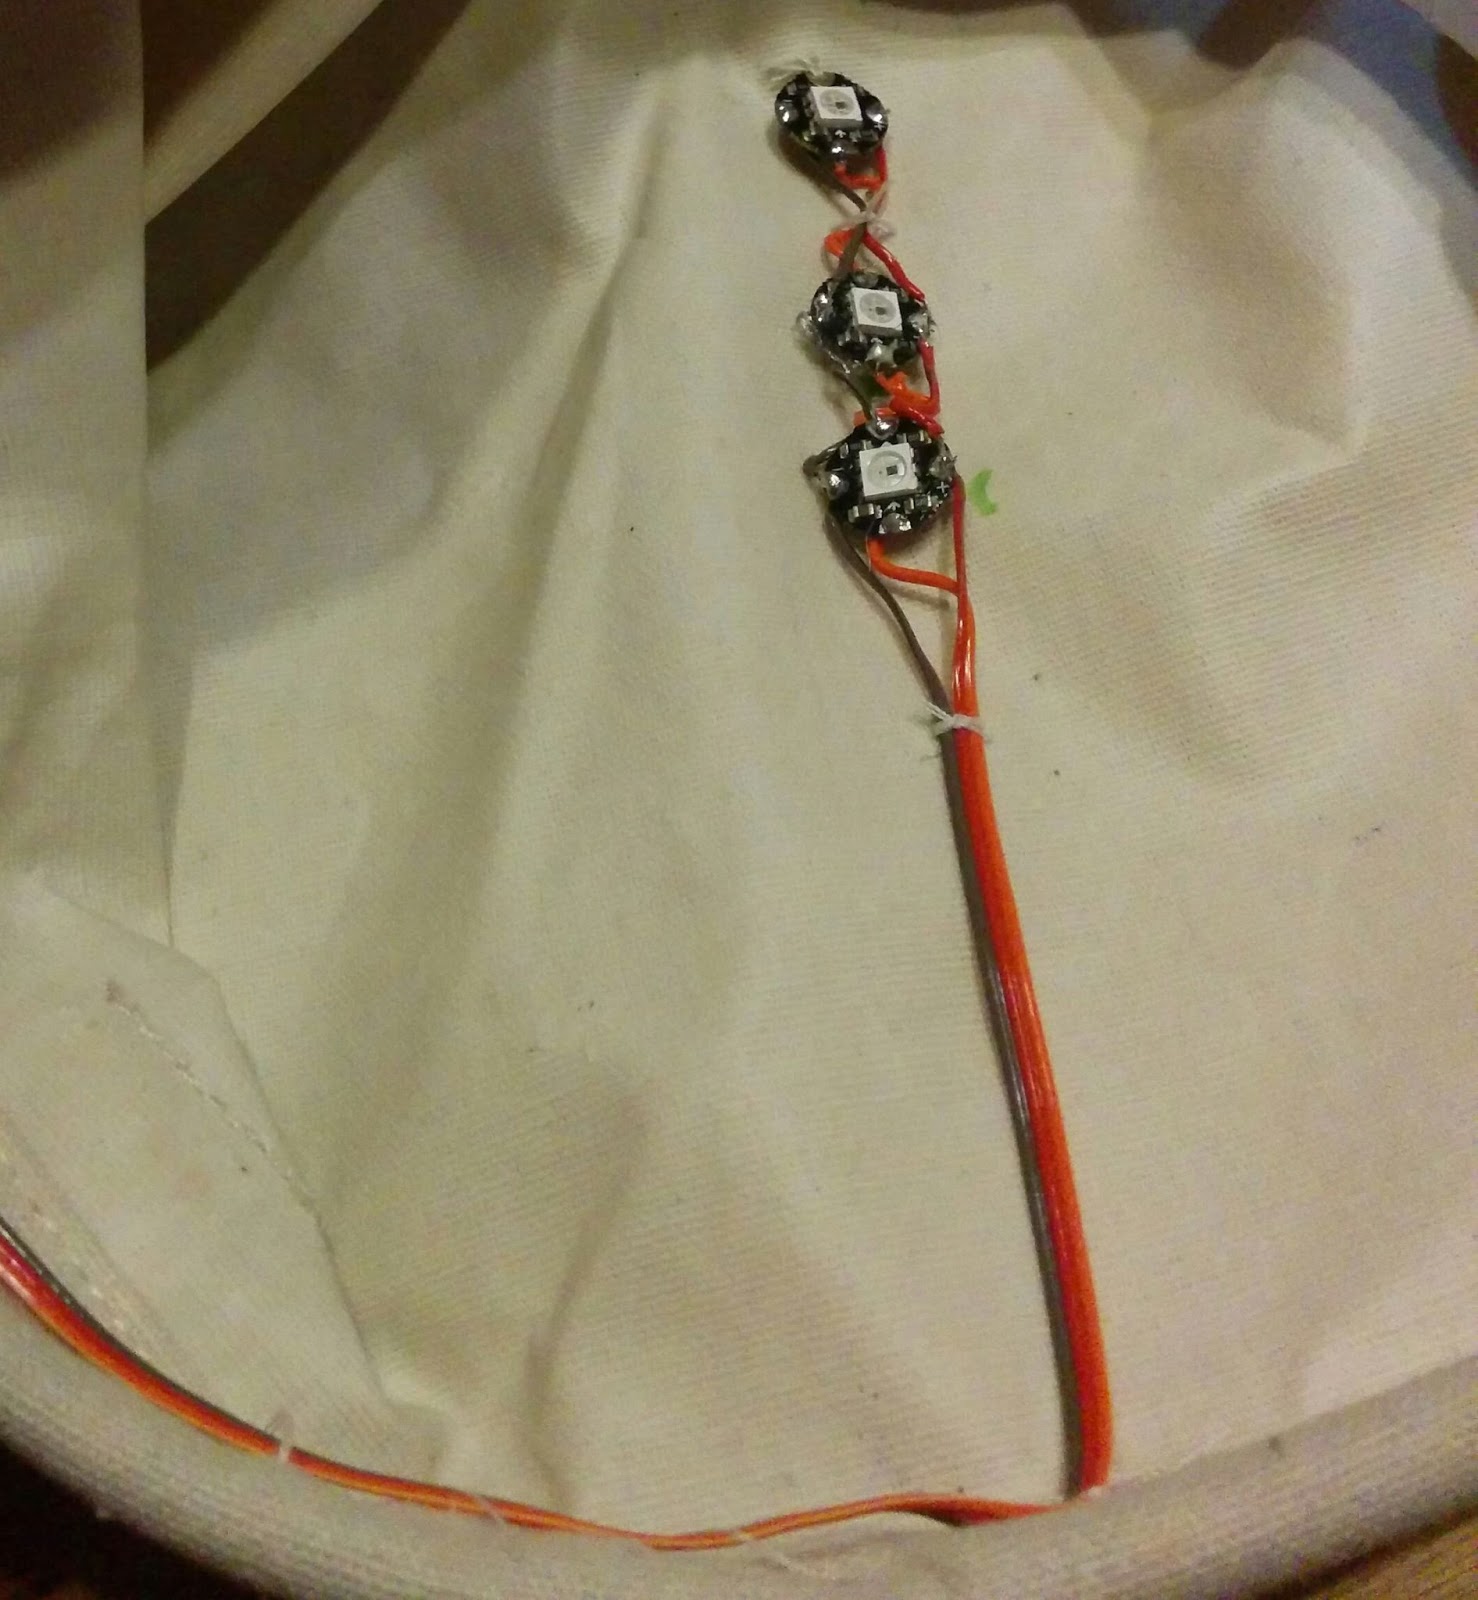
There will be two major challenges to getting this project ready for cat deployment. The first is form factor: My current arrangement is simply way too big for a cat. I have some tiny microcontroller boards which could work, although I think I'll have to use a voltage regulator (the component on the right) since they're both 5v boards, and the GPS module is made to work with a 3.3v board:


Ultimately though, the biggest component is the AAA battery pack, and I'm not sure there's much can do about that. Here's where I consult the wise denizens of my Hackerspace.

The second, and probably bigger, challenge is getting and keeping the device on the cat. Georgie is not a huge fan of collars anyway, and has found her way out of many of them. My sister suggested we get a harness rather than trying to attach the module to a collar, and keeping the whole device as small and light as possible can only help. There'll definitely be some fittings and testing around the house before I can start collecting the really interesting data.

Stay tuned for more - hopefully Georgie will still be talking to me when this is all over.

Monday, 24 August 2015

Monster Mash-Up

I recently finished a project that I'm very proud of. It's a soft toy that "blinks" and "sings", thanks to a tiny Arduino board, a sewable LED and a small buzzer that can play musical notes. It comes from Sew Electric, an excellent introduction to e-textiles by Leah Beuchley. All of the DIY projects are available for free online, but if you're interested in this area I would highly recommend buying the book because 1) It's an awesome resource for beginners, and 2) Getting girls interested in technology is a cause that's well worth supporting financially. I think Sew Electric would be a great title to add to any library collection, but could be especially good for schools and libraries with their own makerspaces.

The details of the project are on the Sew Electric website, so I won't go into too much detail. Instead I'll show you some progress shots, and talk about the differences between my monster and the instructions - because of course I couldn't help improvising a bit.

Here's my basic circuit design. Yes, it looks like it was drawn by a primary school kid. My excuse is that I was only just learning to use the stylus paint program on my tablet:


Already there are some visible differences from the original design. All the Sew Electric projects are designed to be programmed through an Arduino Lilypad. I used a Beetle from DFRobot. I've found this little jewel of a microcontroller board is easy to work with, and it's much cheaper and easier to get hold of in Australia than the Lilypad. But there are some significant differences:

  1. The Lilypad is designed operate at 3.3v, and its associated components run on the same voltage. The Beetle is designed for 5v.
  2. The Lilypad has a built-in power source and on/off switch. The Beetle is... a little more bare-bones.
I spoke to some colleagues at my hackerspace about the voltage difference, and we had some concerns that the 5v power source required to run the microcontroller would blow up the other components, which are designed to operate at a lower voltage, and have different tolerances for how much electrical current they can take. This is why there are notes on the circuit design about resistors and transistors, which are used to regulate current in a circuit.  In the end though, I actually didn't end up using them, because some research into the specs of my LED and buzzer showed that they could happily operate from a 5v power source. Components often have a range of conditions under which they can operate, and it's always worth checking if you're unsure,

As for the power source itself, I found a neat battery pack made by the same manufacturer as the Beetle. It's actually a boost module - you put in two AA batteries (which are 1.5v each) and module boosts them up to 5v to power the device. Here it is sewn into my monster's butt:


I used conductive thread to "wire" everything together. Here's the connection between the Beetle and the LED:


I sewed in the buzzer under the monster's mouth, and had lots of fun coming up with tunes for it to play. The instructions suggest using a short, simple tune such as Hot Cross Buns or Mary Had a Little Lamb. Of course, I was having none of that. Each note is one line of code, so it took some time to program a song, but I think it was completely worth it - you can hear the final result in the video at the end of this post. I also programmed this alternate tune:


The final stage was to add touch pads to the monster's paws, which activate its "song" when pressed. Ingeniously, the instructions show you how to use applique backing and kitchen foil to make a cheap, easy-to-apply conductive surface. It works really well, but isn't particularly durable. If I were to make another monster, I'd probably use a conductive fabric like this one.

This project taught me so much, especially about how the code in the Arduino IDE works. Rather than just messing with numbers to change timings and colours, I've now got a basic understanding of how inputs and outputs work, the difference between analogue and digital inputs, the structure of programs and how all the different processes fit together. I also learned to think more critically about the advice I'm given on my projects, and where to look for device specifications and other important information.

So without further ado, here's the finished product. It was a lot of fun to make, and turned out pretty cute if I do say so myself:


Wednesday, 1 July 2015

Light Up Your Life

Recently a friend invited me to the Belgrave Lantern Parade, a gloriously hippie Winter Solstice festival in Melbourne's outer east. Of course, the first thought that crossed my mind was "Oooh, lanterns - I can do something with LEDs!" Over the next couple of weeks I worked on a design, and eventually came up with this:


So here are my instructions for creating your own multi-coloured LED lantern, perfect for Winter Solstice, pride parades, or any other occasion that would be enhanced by some glowing rainbow goodness.

You will need:


Materials

  • A sturdy canvas bag or box with handles (I found mine at Daiso)
  • 6 x NeoPixel individual programmable LEDs
  • 1 x Flora microcontroller board*
  • Ribbon cable^
  • 1 x 3 pin male connector (header) and corresponding female connector (housing)
  • Cotton thread
  • Cloth tape
  • 1 x skirt/pant hanger with clips
  • 1 x tennis ball
  • Packet of small (about 20mm or 30mm) craft mirrors
  • Hot glue
  • 1 x 3.7v lithium ion (LiPo) battery pack with connector

Tools

  • Wire stripper
  • Soldering iron & solder wick
  • Multimeter
  • Hot glue gun
  • Sewing needle
  • Scissors
  • Fabric marker
  • Computer with Arduino IDE and Flora driver installed*

*PLEASE NOTE: Adafruit's wearable electronics platform is fairly user friendly, but it does require a very specific set of conditions to be met in order to work. Make sure you have the Adafruit version of the Arduino IDE installed, because it includes the Adafruit board definitions and the NeoPixel software libraries. If you're using Windows, you'll also need to install the Flora driver.

^Measure your canvas bag to see how much cable you need - I ended up using about a metre. Cut out a bundle of 3 wires, which will connect your NeoPixels into the positive, negative and data pins.


Method:

  • To get the right effect, you'll need to place a vertical row of 3 NeoPixels on opposite walls of your lantern. The Flora should sit on the bottom of the bag, close to the first NeoPixel. This is the configuration I used:

  • Use the fabric marker to mark out where you want to place your Flora and NeoPixels. This will give you a guide for how long to cut your lengths of wire. You'll need 7 lengths:
    • From the Flora to the housing connector (using the header and housing connectors allow you to easily detach and play around with the Flora later on)
    • From the header connector to the first NeoPixel
    • 4 roughly equal lengths to connect the NeoPixels in each row
    • A long length to connect the two rows of NeoPixels.

  • Strip the ends of the wires and solder the components together in a line, connecting positive pins to the next positive pin in the line, negative pins to next negative, and data pins to the next data.
    • On the Flora, use the VBATT for your positive wire, GND for the negative and D6 for the data:
    • On the NeoPixels, the pins are clearly marked. Position them so that the arrows indicating the data pins all point in the same direction throughout the circuit:
  •  Reinforce all your joins with small blobs of hot glue to make them stronger and more flexible:


  • Once everything's wired up, you can upload the code onto the Flora.  You can open the Strandtest example code and change the values around until you arrive at a range of colours and patterns that you like.

  • I ended up with a gentle rainbow glow using this code:
#include <Adafruit_NeoPixel.h>
#include <avr/power.h>

#define PIN 6

// Parameter 1 = number of pixels in strip
// Parameter 2 = Arduino pin number (most are valid)
// Parameter 3 = pixel type flags, add together as needed:
//   NEO_KHZ800  800 KHz bitstream (most NeoPixel products w/WS2812 LEDs)
//   NEO_KHZ400  400 KHz (classic 'v1' (not v2) FLORA pixels, WS2811 drivers)
//   NEO_GRB     Pixels are wired for GRB bitstream (most NeoPixel products)
//   NEO_RGB     Pixels are wired for RGB bitstream (v1 FLORA pixels, not v2)
Adafruit_NeoPixel strip = Adafruit_NeoPixel(6, PIN, NEO_GRB + NEO_KHZ800);

// IMPORTANT: To reduce NeoPixel burnout risk, add 1000 uF capacitor across
// pixel power leads, add 300 - 500 Ohm resistor on first pixel's data input
// and minimize distance between Arduino and first pixel.  Avoid connecting
// on a live circuit...if you must, connect GND first.

void setup() {

  strip.begin();
  strip.show(); // Initialize all pixels to 'off'
}

void loop() {
  rainbow(40);
  
}

void rainbow(uint8_t wait) {
  uint16_t i, j;

  for(j=0; j<256; j++) {
    for(i=0; i<strip.numPixels(); i++) {
      strip.setPixelColor(i, Wheel((i+j) & 255));
    }
    strip.show();
    delay(wait);
  }
}

// Input a value 0 to 255 to get a color value.
// The colours are a transition r - g - b - back to r.
uint32_t Wheel(byte WheelPos) {
  WheelPos = 255 - WheelPos;
  if(WheelPos < 85) {
   return strip.Color(255 - WheelPos * 3, 0, WheelPos * 3);
  } else if(WheelPos < 170) {
    WheelPos -= 85;
   return strip.Color(0, WheelPos * 3, 255 - WheelPos * 3);
  } else {
   WheelPos -= 170;
   return strip.Color(WheelPos * 3, 255 - WheelPos * 3, 0);
  }
}

  • When you've tested and troubleshooted and everything is working, you can attach the wired components to your bag. Use cloth tape to attach the Flora to the bottom on the bag, and secure the rest of the wiring in place using a few loops of cotton thread like so:
  • Now you can plug in the battery. The Flora has a built-in switch so you can turn your lantern on and off.  At this point your lantern will look something like this:

    • That looks pretty great on its own, but I decided to add a bit more visual interest by putting some mirrors into the path of the NeoPixels, disco ball style. I attached some tiny craft mirrors to a tennis ball with hot glue, then suspended it on string from my lantern's "handle" - a clothes hanger:


    And there we have it. PORTABLE RAINBOWS FOR ALL!!!

    Monday, 13 April 2015

    Failure Is Always An Option

    Struggling at something is the first step toward being really good at it.  It's a hard concept to get your head around while it's happening, after all failing at something can be a harsh experience.  On the other hand, once you've corrected your mistakes, you're less likely to make them again.

    Case in point: my recent experience learning to program an Arduino Lilypad.  I followed the instructions in this tutorial by Sparkfun, attaching 9 LEDs to the board, and completing the circuit by connecting the negative ends of the LEDs.  I plugged the board into my computer and tried to program it using the code (called a sketch) provided in the tutorial:


    The sketch uploaded without a hitch, but nothing happened.  I was at the hackerspace at the time, but nobody could quite work out what had gone wrong, and it was getting late.

    With a bit of help, I soon figured out what had gone wrong.  I hadn't had enough sewable LEDs for the Sparkfun tutorial, so I used some others that my partner had bought for another project and never used.  But the LEDs I used were NeoPixels from Adafruit, which work a little differently.  The LEDs required for the tutorial have the usual positive and negative terminals that all electronic components have:


    In addition to these, NeoPixels also have data terminals (the ones marked with the arrows):


    The data line allows NeoPixels to be chained together, which creates some very cool effects.  On the other hand, they require a completely different wiring configuration to normal LEDs.

    But not to worry, with a bit of guidance and research I rewired my LEDs.  I made a couple of mistakes along the way, including attaching my data line to an analogue port rather than a digital port.  I also got confused about the labelling and numbering of the pins on the Lilypad board, which differ wildly between manufacturers, and are used in the sketch to determine what each LED does and when.  I was shown how to look up what each pin does using a pinout, which helped immensely.

    And I got there in the end!  I used this tutorial from Adafruit and one of the example NeoPixel sketches provided.  Here are some of the results:


    Ultimately I learned a lot from my mistakes, and now I feel like I know a bit about how things work, rather than just following instructions.  Here are the lessons I learned:
    • How to use different kinds of LEDs
    • The difference between digital and analogue pins on an Arduino board
    • How to look up and interpret pinout diagrams
    • How to make sure the Arduino IDE is properly configured for the board and com ports
    • Basic manipulation of code in the Arduino IDE
    I look forward to using my new-found knowledge to start improvising, and to inspire future projects.

    Saturday, 7 March 2015

    When Hardware Goes Soft

    A while ago I got interested in e-textiles (also known as soft circuits). This is a unique area of DIY electronics which fuses craft and technology by sewing with thread that conducts electricity - in other words, it's exactly my kind of thing. An awesome example of what's happening in this space is Afroditi Psarra's Lilytronica:


    Getting started with electronics can be pretty daunting, as I discovered a while ago when I first tried to get into Arduino. But when it comes to e-textiles I have an advantage: I already know how to sew, and have done some fairly intricate cross-stitch projects. This means I don't feel like a 100% newbie, which I find helps me maintain my motivation.

    Like conventional electronics, e-textile projects can be as simple as connecting a battery pack to an LED, or as complicated as you want, incorporating flexible Arduino boards and a range of sensors and outputs. I decided to begin with Sparkfun's tutorials, because they're exceptionally clear and start from the VERY basics, for example:


    After reading about the basic principles involved, I followed this excellent video tutorial to create my first circuit:


    It's the simplest of the simple: an LED attached to a switch and battery. My circuit actually ended up being even more straightforward, because I bought a battery holder with a built-in switch:


    Ultimately it was like any other hand-sewing project involving beads or buttons, but with the added factor of polarity: threads that touch the positive sides of the "beads" can't intersect with the threads that touch the negative sides. I feel like this would be an excellent way to introduce children to electronics, especially in a non-traditional environment like a library. It's very safe and newbie-friendly, and there's no need for soldering irons and other potentially problematic equipment.

    Here's a progress shot. You can see the positive and negative sections of the circuit, beginning from the positive and negative terminals of the battery holder. The LED is on the other side of the fabric.


    Here's the the completed circuit with battery in and light switched on!

    Please excuse the flare - lit LEDs are a bit hard to photograph. I like to think J.J. Abrams would be proud though :p

    And here's a close-up of the finished piece from the front (I couldn't help but pretty it up a bit):


    It's nothing flash (pun intended), but it's the FIRST TIME EVER that I've assembled something electronic and had it work first time - including the breadboard kits from Dick Smith that I put together as a kid. I'm really proud of it, and excited about progressing to more complex projects. The next stop is Sparkfun's Lilypad tutorial, which teaches how to programme a small, flexible Arduino. The future is as bright as a white LED!